Blessings Of The Forge
Update on Shaders and Lighting
So it's been a minute since I've done a devlog, but don't worry, we've been cooking! As I think I mentioned in the last devlog, (which was over a month ago! Wow, I'm slacking) we are working on adding shop management mechanics into the game. That has been going well and hopefully we will have something playable within the coming weeks!
But what I want to really go over in this post is Lighting and Shaders! I think my very first post on here was my initial deep dive into shaders and different techniques used to create lighting effects. Well, I feel things have finally come full circle back to that. I've spent a large portion of the last few weeks learning how to use compute shaders and building a lighting system for Blessings of the Forge. In this post I'd like to cover why we needed to do this for the game, the basics of the method I used, and how I used that method to create the lighting system. So, needless to say this post will be a bit more technical, but I feel a lot of people are interested in shaders so hopefully yall enjoy!
Why Use Shaders?
Let me start by saying, "Do not build your own lighting system unless you need to." For many projects, the lighting built into the engine works fine, is easier to get working, and is much easier to manage than coding your own. That said, I ran into issues... and unlike sane people, when I run into issues I just code my way out of it... because yea, coding my own base is always easier than just learning a new tool, right? So what was the issue exactly? Well, it was actually twofold. Firstly, for the shop management mechanic I wanted to add a day/night cycle to the game. For a pixel art game this isn't too crazy. You basically create a light mask for outdoors, and recolor that area with a color. It's simple, clean, and works pretty well. The real issue appears when you want to add shadows for the building and lights indoors.
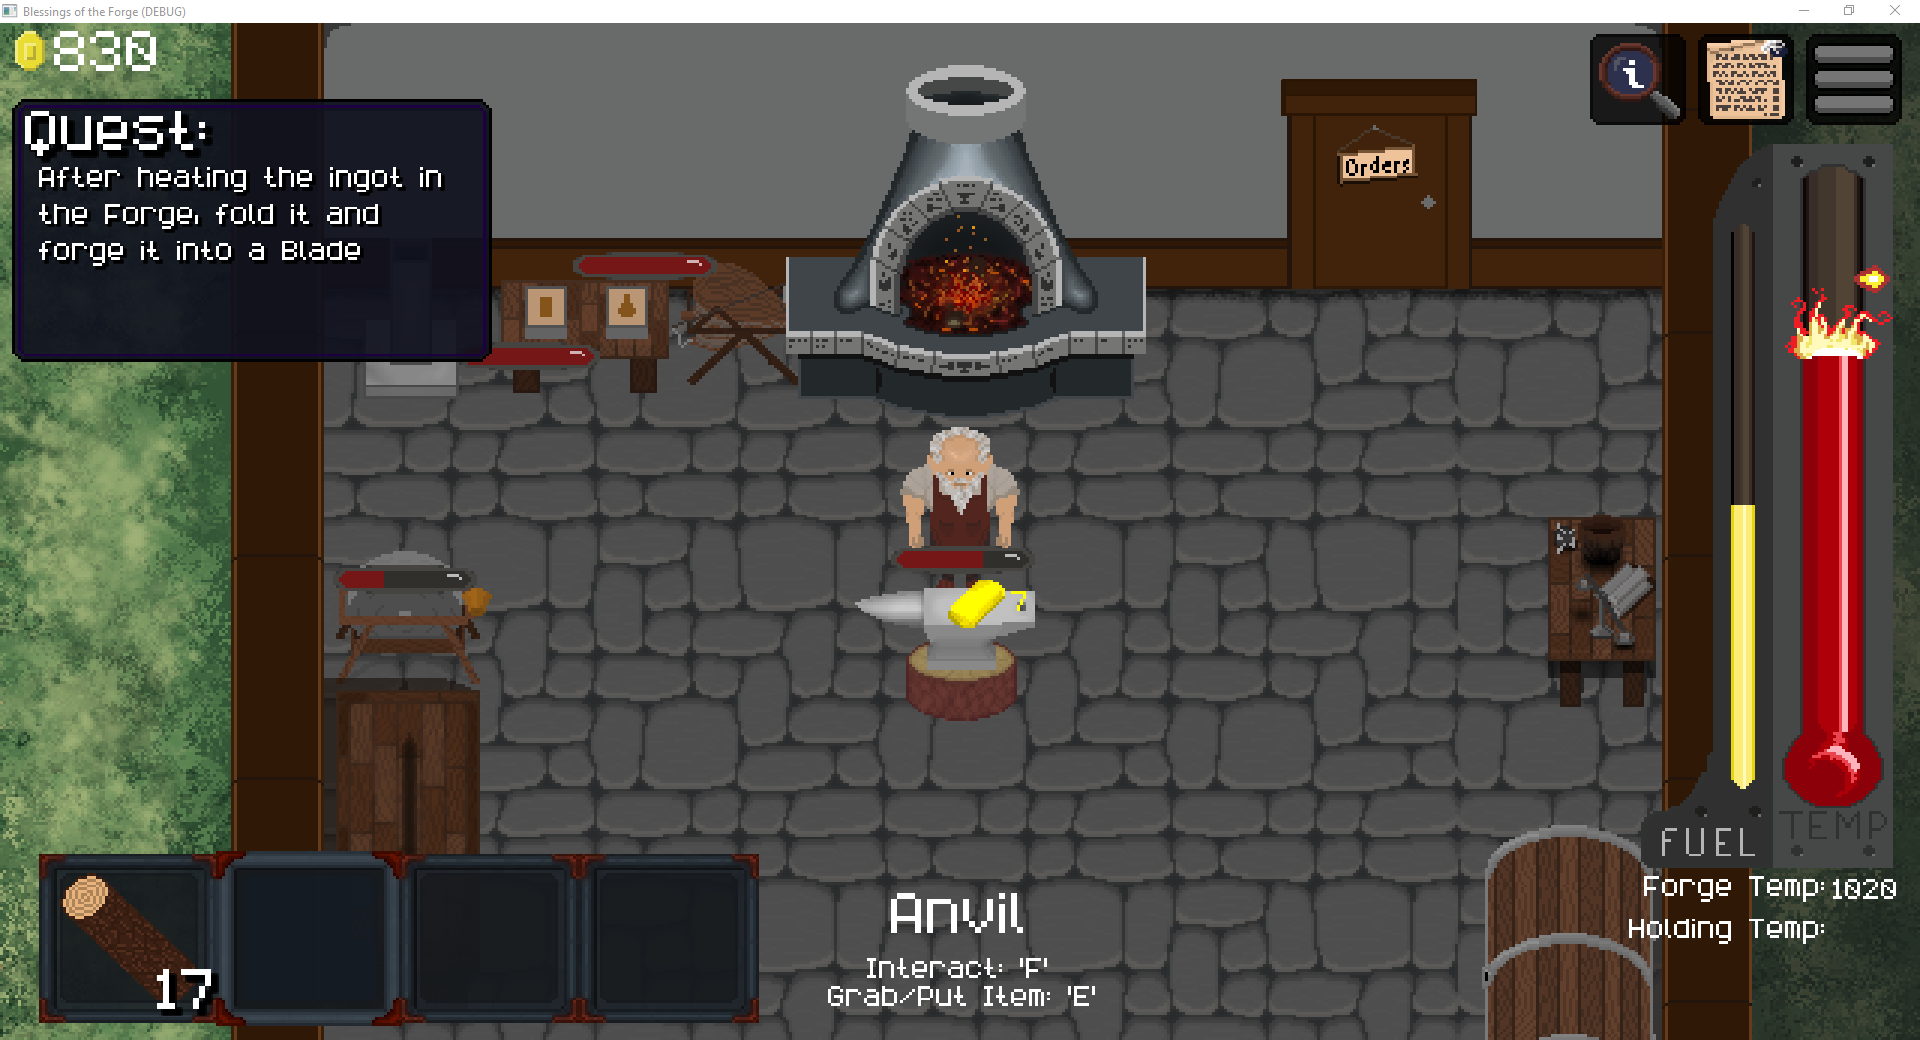
In Godot, you can do pixel art in a few ways. The primary way is by adjusting the stretch feature in the project settings. What I've done is give the project a base resolution of 1280x720, then scaling it by 2 giving me a game resolution of 640x360. This works well because we have pretty high resolution pixel art, but you can do this for any target canvas you want. In general, you want to do full integers of stretching so that the pixels in game align properly with the native resolution. However, the issue comes with the other setting: stretch mode. Ideally, you set this to viewport. This renders the entire game at the lower resolution, then upscales it to native. But, this means you no longer have sub pixels to work with for positioning and physics. I didn't like that, so I set it to the other setting: canvas item. This takes every sprite in the game, and upscales it by a factor of two. The game can still run native resolution movements, but all of the art looks like normal pixel art. This gives very smooth movement for the player and NPCs, while also keeping a clean pixel art look in the game.
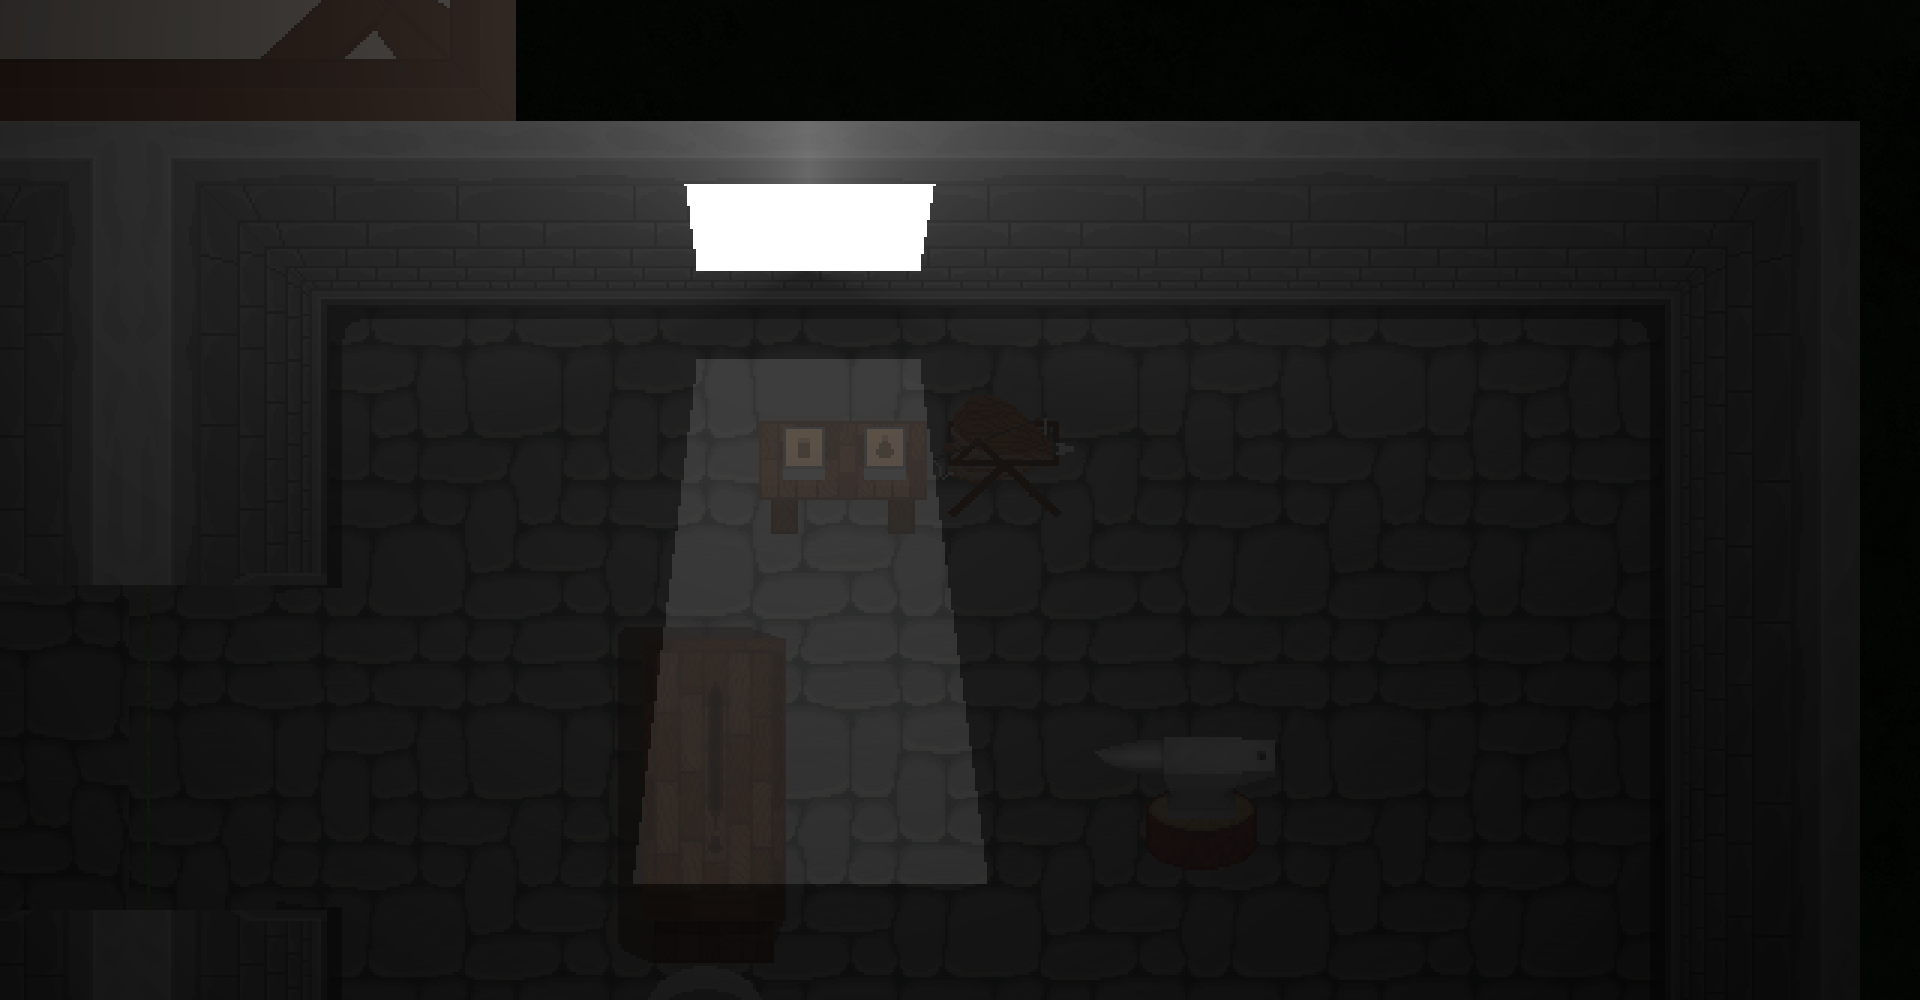
The issue with this is that all of the light nodes in Godot now run at native resolution, meaning no pixelated light. This makes me sad. I want beautiful pixelated light for the game. And I tried doing it other ways, trust me. I started with Godot's built in shader code, but could not figure out how to set the shader's target resolution. I tried setting the project to viewport, but the movement felt so jittery. I tried adjusting the textures on the light sources, but the occluders still had a high resolution. So, I finally stumbled upon compute shaders. With those I can pass a texture of a given size, rewrite all of the colors for each pixel, then set that texture as an overlay on top of everything in front of the camera. This worked SO well. Here's a screenshot of my first time getting it working.
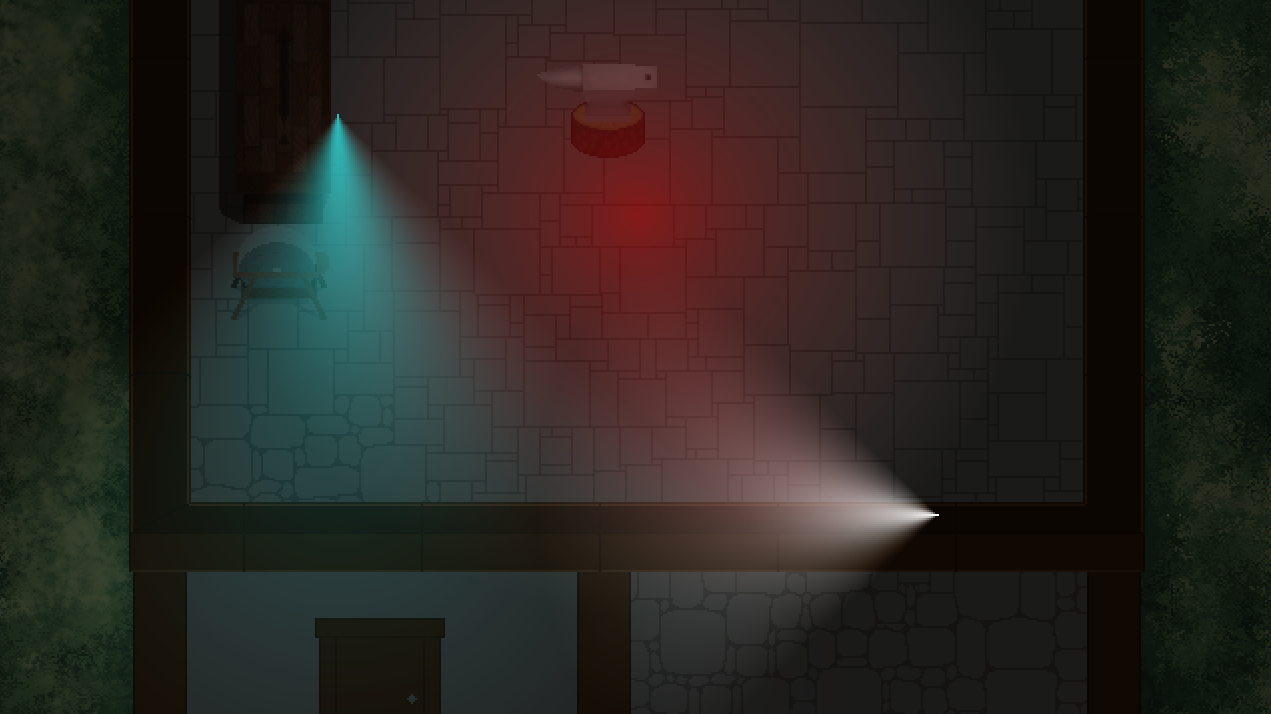
^^ THIS!!! ^^
This is EXACTLY what I was looking for! Oh my god can you SEE the fall off near the light sources?! *chef's kiss*
Basic Method Used
Okay, so how did I achieve this exactly? Well, like I said, I passed a texture to the shader, then did a bunch of mathy things, then out comes the lighting. But let's take a look at that a bit closer. The basics of compute shaders aren't too complicated. You essentially bind the data you need to the GPU, then call the shader code to process the data for you, then sync with the GPU once that is done to get your result. You can read how to do this in Godot through the documentation here. In our case, we bind a texture of our screen resolution and the data for each light. We can create an abstract class for this in our shader to make things easier, then have out binding be a dynamic array of lights. For each light we want brightness, angle, range, color, and how wide the light fan is. Once our data is bound, the actual shader is not too complicated. The only other piece of data we need is the canvas position. (We are assuming the anchor for the canvas is in the top left because it makes the maths easier.
For the shader we start by taking the pixel position on the canvas, and adding to the canvas position. This gets our world position for our pixel. Then, we iterate through the lights array. If the pixel lies on the light fan, we can then calculate the coloring and illumination of that pixel. This video has a really good explanation of the math we are using here. Particularly the part where he talks about the light fans. So for each pixel we add all the lights together, then mix between our default color and our final illumination color. The great thing about shaders is doing this for each pixel is super easy to do. Because I have only done "normal" programming on the CPU, it still feels like there is a bit of magic doing all of these calculations in a fraction of a second. For context, just the data for the texture is a total of 243,200 pixels (640x360), which means our little shader is executing that many times each time we call it to calculate the texture.
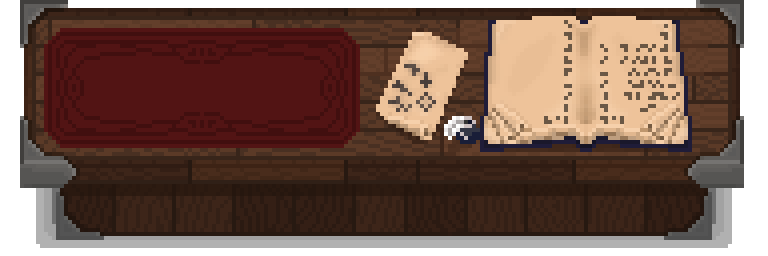
One last thing I'd like to explain here is how we are doing the coloring. Basically, we don't have access to the texture in the background using this method, so we have to somehow with one color balance between 3 different extremes: completely shaded, completely illuminated and colored, and completely illuminated with no color pollution. So, how do we do this? Well, for each light I also pass in a saturation value. This value basically represents how much the light recolors the pixel. For each light, we add the total illumination of the pixel and the weighted saturation of it while also using these values to add to the color. Then at the end, we mix between completely black and the final light color, then adjust the alpha value by the final saturation. This allows us to easily mix between all three of these maximums as needed in in our lighting system. Below should be a before and after for saturation adjustment.

If you look at the workbench, in the first image it is very faded, while the second one retains a lot of the original color while brightening it much more. And with being able to pass that value per light, we are able to choose how much a light will effect the colors of objects.
How to make a lighting system
Okay, so now we have lights. but that doesn't make a lighting system. How do we achieve that? Well, to start we need to design how we want the lights to work. If you remember our original aim is to create a day/night cycle. So we need sunlight that can turn to darkness, building shadows would be nice, some sort of indoors lighting would help, a way to tell what is indoors and outdoors is definitely needed, and as you can see from the previous two images, I WANT WINDOWS!!!. Okay, so I broke this down into three basic shaders. We already have point/direction lights. Next we need building lighting and window lighting as our other two.
Let's start with the building lighting. Basically, we need 3 things: a way to tell what is indoors, a way to calculate shadows, and a sunlight color. Starting with the indoors, we need to create light masks. I did this by creating rectangular polygons, and passing their points to the shader. I can then see if our pixel is in one of those boxes. If so, then we are indoors. We pass black, or whatever dark ambient color we want, and return. If not, then we take each pair of points from those boxes and add our shadow vector. This creates a bunch of parallelograms extending out from our boxes. Because we know we are not indoors, we know if our pixel lies on these boxes the are for sure in a shadow. So we pass our shadow color and return. If not, then we pass our sunlight color and return. This gives us our basic building and outdoors lighting. We have a clock in the game now, so we can pass in the sunlight direction vector and color from that every frame to update this shader.
Next, we have windows. (these make me happy :D) As I expand this system I will eventually add shadows and texture transforms, but for now let's keep things simple and pretend a window is some sort of a box shape (like in the above images). We have two parts of the windows, the ambient light and the window shape cast on the ground. For the shape cast, we need to apply a 2D transform to each of the vertices from the window's origin (half way between the bottom two points for convenience). With the tranform we can adjust the stretching, rotation, and projection from the sunlight direction. Similarly, we can skip the transform and cast altogether if the sunlight angle is greater than 90 degrees from the window's normal. This allows us to change the way the window casts onto the ground depending on the time of day it is.
After that, we need to add some ambient light around the window, so that windows can actually fill a room with light similarly to real windows. For this I started with similar math to the point light, but instead using an ellipse around the "bottom" of the transformed window shape. This somewhat works, but I want it to cast "forward" into a room. To do this I added a weight that would increase the light amount if the angle of the pixel was more in line with the direction of the shape cast, and decrease it if it was in the opposite direction. This worked out great and created the ambient lighting you see in the second image.
The last thing I did was write custom scripts with the data needed for each piece we have here: windows, indoors masks, and point/direction lights (a point light is just a direction light with a total fan angle of 360 degrees.) I then exported the arrays in the shader code on the CPU side so that I can place these objects in editor, then pass them to the shader. This makes a super simple system for adding lighting to any level, and the shader handles everything. This is just the start of the lighting system for our game, and I definitely plan on adding normals, soft and hard shadows, and hopefully texture transforms for walls and other things down the line, but with all of this put together we finally have the start of a nice day/night system.
Honestly, this was not nearly as difficult as I thought it would be. It took a minute to understand what I was doing, but I definitely think I am probably going to use this method for any pixel art lighting system moving forward, and I'm really excited to see how this system grows moving forward. Anyways, hope this was interesting and gives you some ideas for lighting in your game moving forward. Feel free to share your thoughts and if you see anything that might help or that I missed, feel free to let me know. I'm definitely new to shaders so there's plenty for me to learn.
Leave a comment
Log in with itch.io to leave a comment.